Pages

Showing posts with label dessert. Show all posts

Friday, October 16, 2015

Pumpkin Mornings

Nothing starts a Friday morning off much better than a slice of pumpkin bread covered in fudgey chocolate frosting and a home made pumpkin spice latte. Thank God it's finally fall, Thank God it's  Friday and Thank God for pumpkin!
 Earlier this week I stumbled upon the recipe for this pumpkin bread recipe on Lolly Jane's instagram account. I immediately ran out and bought a can of pumpkin puree because I could not wait to make this! It tuned out as delicious as it looked when I first laid eyes on it!


Of course, the recipe didn't call for a whole can of pumpkin so naturally I used the leftover and concocted my own version of the Pumpkin Spice Latte.
You'll need:
8 oz milk
1/8-1/4 cup pumpkin puree
1/4 tsp pumpkin pie spice
5 oz espresso coffee
2 tsp salted caramel syrup (optional)
Heat the milk, pumpkin puree, pumpkin pie spice and salted caramel syrup in a pan on the stove top until hot and bubbly. 
Pour over espresso (I used 2 tsp instant espresso powder mixed with 5oz boiling water)
Enjoy while hot!

Happy Fall Ya'll!!

Monday, August 31, 2015

Carbs

Who does a dual post about made-from-scratch bread machine rolls and fudgey-brownie cupcakes with peanut butter cream cheese frosting? That's right, I do. And I like to call myself Queen of the Carbohydrates.
I made these two delicious, carb-loaded items for a family dinner last week and even though it is the most random duo of recipes I had to share them both with you! If you're watching your waistline...you should still probably indulge in these!

These bread machine rolls are seriously the easiest scratch made rolls you'll ever stumble across and once you try them you will never go back to store bought again!

I have recently started a major love affair with my bread machine. I've always known home made bread is way better than anything you can buy in the stores but I've also always been a little intimidated by all the work it seems to take to make it..having the water at the right temperature, making sure to use just enough yeast...and bread flour? Well turns out once you get the hang of it, home made bread is really easy...plus its so yummy and impressive too!
They are soft, fluffy, sweet, tender and buttery..
I used this recipe and followed the instructions exactly...they turn out perfect every single time!


Now for dessert...
Because these are mini sized its a lot easier to eat like 10 and not even realize it.
Good or bad thing? Not sure...still investigating!
The method for making these little morsels are a little different than any brownies I've made. You make a little caramel-like sauce in the microwave and then turn it into brownie batter. You can totally taste the toffee-esque flavor this gives to the final product! Yum! 
I used this recipe but added cream cheese instead of regular butter in the frosting.

Coming from the carbo-queen herself...I suggest you give these little babies a try...soon!
XO

Saturday, July 25, 2015

leftover bananas

Over ripe bananas are one of my favorite things. Banana bread is one of my favorite things...but with how fast bananas go bad...I can only make so many loaves of banana bread.
So I did what anybody would do...I surfed leftover banana recipes on Pinterest for a few hours!
The first of which is a sweet decadent treat and the latter a better-for-you breakfast or snack which I thought balanced each other out nicely. I can eat the "healthy" snack and not feel so bad about indulging in the "dessert" afterwards. 
I took these to a little breakfast get together at a friends house, yeah you can eat dessert for breakfast...And they disappeared! Just happy I didn't end up taking many home. 
If you have any leftover bananas sitting on your counter top...make these!

enjoy! XO

Tuesday, June 23, 2015

Our Weekend

I love weekends like this last one. Nothin' but good food, the best family, and relaxation. 
Ahhh the good life!
Monday of course brings us back to a little reality so I am going to reminisce.....


I picked up a potted plant this weekend that I had ordered from a local landscaping company here in town...usually I just buy my flowers from the store and plant them myself but since I received a gift card from my hubby for Mother's Day this year I decided to put it to good use and treat myself to a fancy potted flower arrangement! It turned out so beautiful and I am going to enjoy every minute gazing at it for the next few months of summer! 


Saturday we smoked a brisket on our pellet smoker for eighteen hours! We spent some serious time researching what recipes and methods to use and ended up using a combination of a few..
this onethis one and especially this one were the 3 that caught our eye and we ended up combining techniques and ingredients from all of them. For our first try it turned out pretty dang good...don't get me wrong, it's not BBQ competition ready by any means but we were pretty excited with how delicious it was and can't wait to try it again sometime...except for the waking-up-at-5am-on-a-Saturday-to-start-cooking part..but we value food over sleep around this house! This makes for killer leftover brisket sandwiches the rest of the week too!
Sunday we spent the entire day at the lake! The weather was to die for perfect and we all came home a little sunburned and a lot exhausted.


We ended the day with a little Father's Day dinner celebration and the most rich, decadent, delicious cheesecake that ever existed.

My husband and dad are always requesting cheesecake so I like to take the opportunity to try new recipes! This recipe for salted caramel cheesecake looked pretty irresistible! I swapped the oreo crust for an espresso brownie layer which was the best decision I've ever made by far. I just used a store bought brownie mix and added a little espresso powder to the mix. I baked the brownie layer for 15 minutes before pouring the cheesecake batter over the top and following the rest of the baking instructions. I am still having chocolate salted caramel dreams about this dessert!

Wednesday, April 29, 2015

Oreo Truffles

These little balls of deliciousness are the easiest, yummiest, little treat ever! Where ever I bring them, people always seem so amazed that I made them and that I didn't order them from some bakery or something...they look like a lot of hard work and taste even better! But they're only 3 simple ingredients and take less than an hour start to finish! Seriously, take these little gems to your next gathering and you are sure to become the most popular person at the party!

You start with one package of Oreo Cookies...you can use any variety! I used original for these pictures but I also made some using golden Oreos too....they were just gobbled up before I had the chance to snap any photos! Put that whole package of Oreos into the food processor and pulse until you get very fine crumbs. Then, dump all those crumbs (you may want to reserve like 1/4 a cup for a sprinkle of decoration on the finished truffle) into a bowl...I use my Kitchen Aid mixer. Add one 8oz block of room temp cream cheese and mix well. It will turn into a sort of dough...use a small ice cream scoop to scoop out equal sized portions, roll into balls and pop them onto a cookie sheet covered parchment paper. Stick them into the freezer for like 10-15 minutes while you melt the coating. I like to use CandiQuik or a similar product like Almond Bark or Candy Melts (Hobbly Lobby actually carries a ton of variety of the candy melts in different flavors and colors)...I have tried to use chocolate chips and they are just a little too temperamental for me. CandiQuik works great every time, it melts easy, hardens quickly, and even comes in a disposable, microwavable tray = no mess! You just coat each ball in the melted chocolate and put it right back on the same tray. Once all the truffles are coated, pop them back in the freezer for another 10-15 minutes and they're done! Sometimes I drizzle some melted CandiQuik of a different color on top to make them look pretty, or you can sprinkle some of the crumbs you set aside on top while they're still wet, that gives it a nice, finished look too!


Make sure you store these treats in the refridgerator! ;-)
Enjoy! XO

Wednesday, April 1, 2015

Flourless Chocolate Cake

We had some family in town over this past weekend and we all got together Saturday night for our standard dinner gathering. I am in charge of dessert pretty often, and my sister in law requested Flourless Chocolate Cake for this occasion. She sent me this recipe since it is one she has made before. I will say that it is fairly easy, and has only a few ingredients...the most "difficult" parts were trying not to deflate the eggs and chopping all that chocolate..which I may or may not have sampled.

The cake itself is moist, rich and decadent! I served it with some chocolate ganache glazed over the top like frosting (which you can find here), some vanilla bean mascarpone whipped cream and of course, fresh raspberries...YUM! It got rave reviews all around, it is such a classic, delicious dessert and I am thinking it will become my staple dessert when I want to impress people will a little faux fanciness.
This recipe is great if you're trying to stay away from gluten, we can pretend it's low carb too, right?..or if you just want to try something a little different! It is the absolute perfect combination between regular chocolate cake and gooey brownies & I can't wait for an excuse to make it again!

Thursday, February 13, 2014

Red Velvet Sandwich Cookies

I have previously expressed my love for all things red velvet, especially around Christmas time. Well turns out that love doesn't fade until after Valentine' Day (okay, let's be real it doesn't fade ever). Deep red cookies made into a sandwich with pretty pink frosting will make anybody's Valentine's Day special, right? 

You will need:
1 box red velvet cake mix
2 eggs
3/4 cup Crisco shortening (melted)
*Stir above together to form a dough*

Scoop into 1" rounds onto a greased cookie sheet and bake at 350 for 10 minutes.
Let cookies cool completely before frosting.

I took the easy route with these and just bought a can of cream cheese frosting and turned it pink with a few drops of red food coloring. If you are feeling ambitious, please feel free to make your own frosting but I betcha nobody will know the difference!

This makes about 15-16 sandwiches, if you're a math whiz that's about 32 cookies. If you need more, double the recipe; its easy.

Yeah... you noticed that this was made from a cake mix, did you? Wanna know a secret? You can use ANY cake mix with this recipe to make any kind of cookie that you want! German chocolate? Check. Carrot? Check. Seriously, try out different flavors and different combos- it's fun and super simple!
 
Happy Valentine's Day!
XOXO

Thursday, January 30, 2014

Lemon Bars

Maybe if I keep posting recipes that remind me of spring, our good pal Punxutawney Phil will not see his shadow this Sunday, and spring will show it's pretty little face early this year?!
HA!
"yeah right, wishful thinking" says the gal from Wyo.

Well, I'm gunna continue to make these bright, cheerful, yummy spring recipes anyways.
Next on the list are these lemon bars, again made with my favorite, Meyer lemons. I now only have two left in the bag....trying to find/think up one more recipe to finish them off! 
The lemon filling is smooth and creamy with just the perfect amount of lemon flavor and tartness, and the crust for these bars is like a sugar cookie, which makes them even better.

    Crust 
    2 cups all-purpose flour
    1/3 cup powdered sugar, plus more for dusting
    1/3 cup packed light-brown sugar
    1/2 tsp salt
    3/4 cup butter, partially soft and diced into 3/4-inch cubes* 
    1/4 to1/2 cup ice cold water
     
    Filling 
    2 cups granulated sugar
    6 Tbsp all-purpose flour
    1/8 tsp salt
    1 1/2 Tbsp lemon zest
    3/4 cup fresh lemon juice
    1/4 cup fresh navel orange juice
    4 large eggs
    3 large egg yolks
    3 1/2 Tbsp heavy cream
     
    Directions 
    Preheat oven to 350 degrees. Butter a 13 by 9-inch baking dish, set aside. In a food processor (you can also just use a bowl and a whisk then a fork or your fingertips to cut in butter), pulse together flour, powdered sugar, brown sugar and 1/2 tsp salt. Add diced butter and pulse until mixture begins to come together in crumbles Slowly pulse and drizzle in ice cold water until mixture becomes a dough. Press mixture into an even layer on bottom and 1/2-inch up the sides of the prepared baking dish (be sure to press together any cracks). Bake in preheated oven until lightly golden, about 20 minutes (zest lemons then juice lemons and oranges while crust is baking and begin to prepare filling because you want to pour filling over a hot crust).
    Meanwhile, in a mixing bowl, whisk together granulated sugar, flour and 1/8 tsp salt. Several minutes before crust is done baking, mix in lemon juice, orange juice and lemon zest, then add eggs, egg yolks and heavy cream and whisk vigorously to blend well. Pour mixture over hot crust, then reduce oven temperature to 325 and return to oven and bake until filling is just set, about 20 - 25 minutes. Allow to cool at room temperature 1 hour, then cover and chill in refrigerator about 1 1/2 - 2 hours or overnight (if resting overnight I'd recommend letting them rest at room temperature a bit before serving). Cut into squares and dust tops with powdered sugar just before serving. Store in an airtight container in refrigerator. 


     Since this recipe makes a whole 9x13 pan and there is no reason besides the fact that I'd eat them to have that many lemon bars in the house; I halved the recipe to make an 8x8.

    Recipe source: Cooking Classy

Friday, January 24, 2014

Meyer Lemon Cake with Strawberry Frosting

I absolutely LOVE when Meyer Lemons are in season & you can find big bags of them at the grocery store! Meyer lemons are tart like lemons, but sweet like oranges. Their zest is thicker and sweeter and their juice is perfectly tart. I love lemon flavored desserts so when I saw these the other day at the store I knew I had to pick up a bag and start lemon-infused baking! Plus, what says "spring" more than lemon? Okay I know it's only January but a girl can dream, right?
The cake part of this recipe is super easy, its the frosting made with fresh strawberry puree that can get a little tricky, but it's worth it. I adapted this recipe by swapping out a few ingredients from the red velvet cake I made last weekend. 

Cake
1/2 cup margarine
1-1/2 cups sugar
1/4 cup fresh squeezed Meyer lemon juice 
2 T Meyer lemon zest
*Make a paste with the above, then add:
2 eggs
1 cup buttermilk
1 tsp salt
1 tsp baking soda
2-1/2 cups cake flour
1-2 drops yellow food coloring
*Mix until well combined
 
Preheat oven to 350 degrees. Grease and flour two, 9" round cake  pans.
Bake cakes 25-30 minutes or until a toothpick inserted into the middle comes out nearly clean. Cool on wire racks.
 
Strawberry Puree
2 large strawberries
1/2 tsp water
*slice strawberries and puree w/ water in a blender, this should make approx. 1/4 cup*
 
Frosting
1/4 cup strawberry puree
3/4 cup milk
5 Tbsp flour
*whisk above ingredients together in a sauce pan over medium heat, stirring continuously until thick, let cool to room temperature*
1 cup butter
1 cup sugar
1-2 drops red food coloring
*cream together butter, sugar and food coloring, add cooled milk and flour mixture and beat on high until smooth and creamy*
 
Strawberry Topping (optional)
1/4 cup strawberry jam
1 Tbsp powdered sugar
1 tsp milk
*whisk together until smooth & drizzle over the top of frosted cake*
 
 I cut each 9" round in half horizontally to make a thinner, 4 layer cake. Also, in the middle of the 2nd and 3rd layers on top of the frosting, I added super thin slices of strawberries. These are just my little touches, you can choose to do the same..or not :-)

Due to the fact that I definitely do not need a full sized layer cake in my house for me to eat, I sent this to work with Scott. I did try a slice...in case it sucked I didn't wanna send it as I have a reputation to uphold ;-) however I ate it so quickly I forgot to take a picture, which I am sad/mad about because the yellow cake with the pretty pink frosting and the bits of real strawberries peeking out of the middle was SO pretty! 
 
Enjoy this yummy, moist cake with the perfect amount of tartness from the lemons and sweetness from the strawberries; it's sure to give you spring fever!


Monday, January 20, 2014

Red Velvet Cake {Special Edition: Denver Broncos}

First and foremost please allow me to say....
  
GO BRONCOS!!!
In honor of my favorite football team, the Denver Broncos making it to WINNING the AFC championship and heading to the Super Bowl, I turned one of my favorite cake recipes into a special orange and blue edition to celebrate!


 This is still technically red velvet cake. It tastes the exact same, the food coloring is the only thing that has been changed. It's still moist, delicious and has a perfect hint of cocoa and almond flavoring which all add up to make this my favorite.cake.ever.
Here is my DISCLAIMER:
I've never, in any sense of the word, claimed to be a cake decorator. I am definitely NOT skilled in the area of making cakes look pretty, only in the area of making them taste good. So I can totally promise you that this will look taste magnificent.
This recipe is an old family favorite, from the cook book called The Feed Bag by Ann Galles and Karla Dundas whom I am lucky enough to call family. It is simple and never fails. My husband's grandma even has "famous" red cake recipe that she has made for ages and my mother in law said that this one is just as good...almost as good ;-)
 
 RECIPE
1/2 cup margarine 
1-1/2 cups sugar
2 T cocoa powder
1/4 cup red food coloring (yikes)
*make a paste with the above ingredients and then add:
2 eggs, beaten
1 cup buttermilk
1 tsp salt
1 tsp baking soda
1 T vanilla extract
1 T almond extract 
1 T white vinegar
2-1/2 cups cake flour
*mix well 
Preheat oven to 350. Grease & flour two, 9" cake pans (I line the bottom of mine with parchment paper, it makes it sooo much easier to get the baked cakes out of the pans)
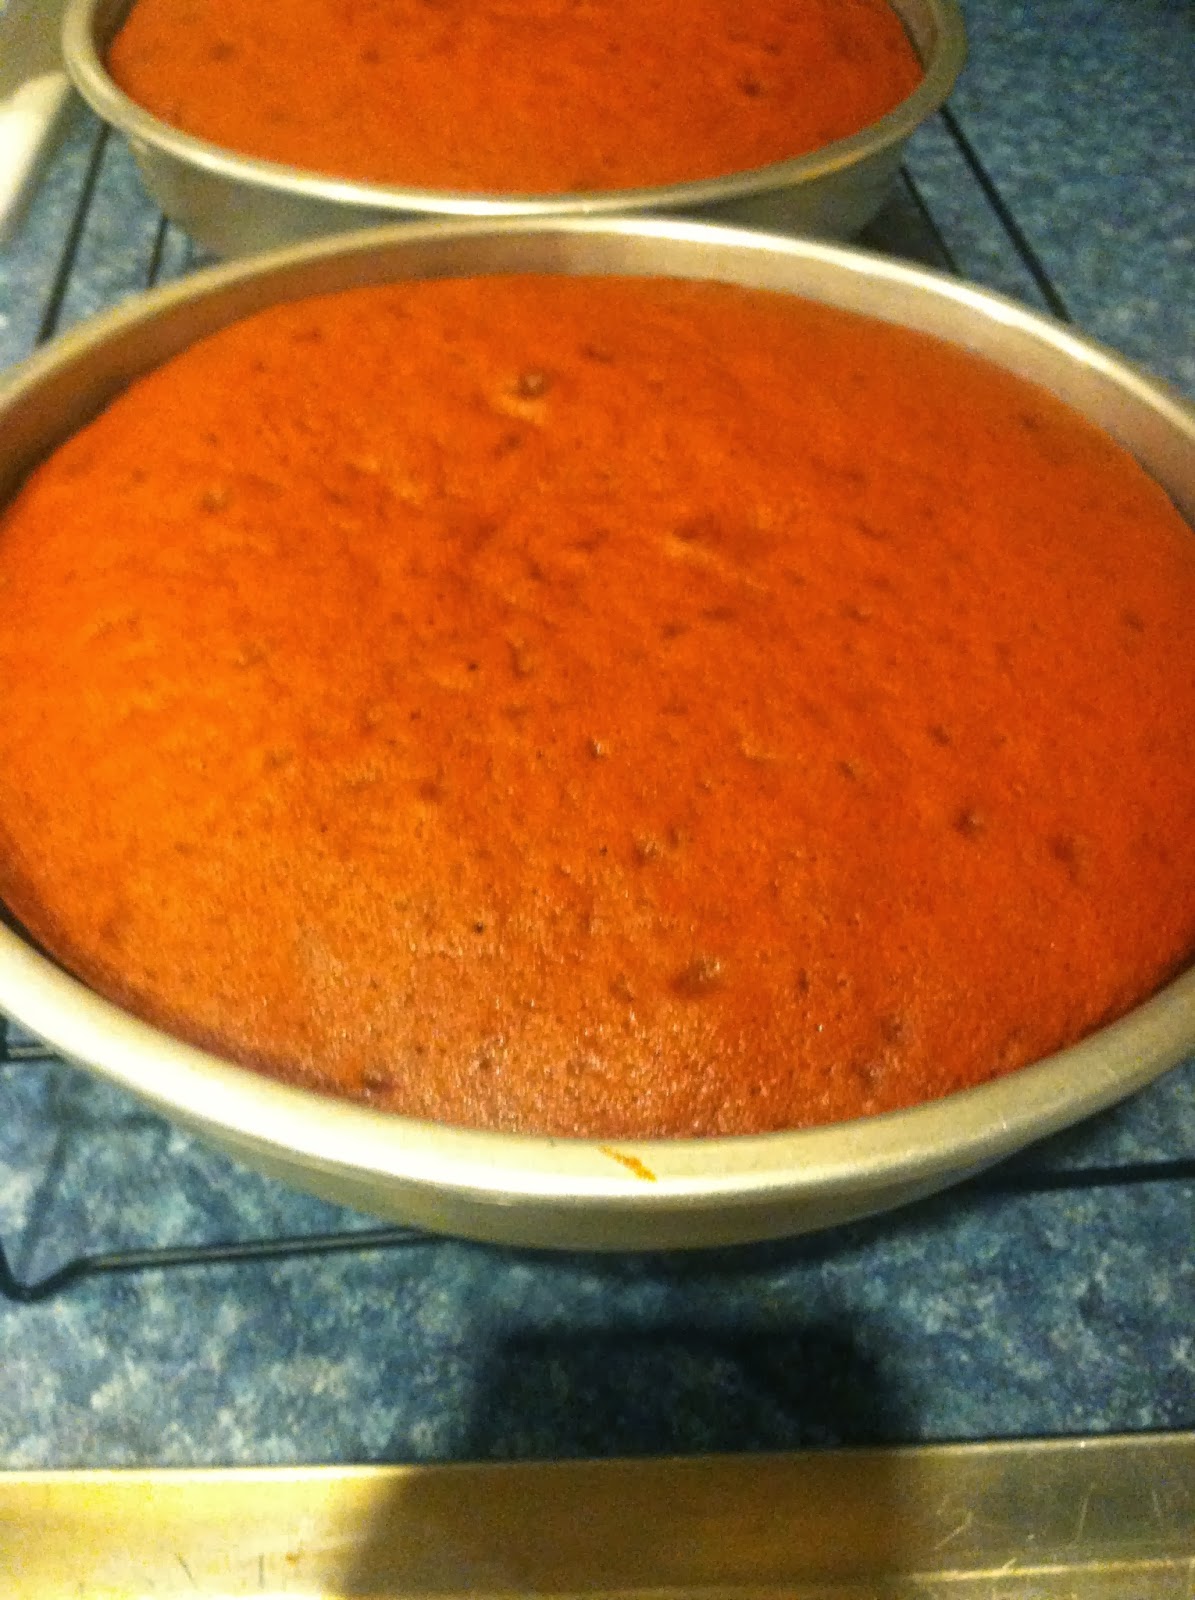
Bake cakes 25-30 minutes or until a toothpick inserted in the center comes out nearly clean. Cool cakes on a wire rack while you make the frosting.

We've gotta have a chat about the frosting. Pretty much everybody thinks that red velvet cake should come with cream cheese frosting. I used to be one of those people; but let me just tell you that is incorrect. Yeah cream cheese frosting is delicious and I could eat it by the spoonful on dang near anything but the traditional icing on this cake shall not be tampered with, kapeesh?
 
For the frosting, heat 1 cup of milk in a sauce pan on low-medium heat. Whisk in 5 T of all purpose flour. Cook, stirring constantly until thick (you want this thicker than brownie batter). Let the mixture cool to room temp. Meanwhile, beat 1 cup of room temperature butter with 1 cup of granulated sugar until light and fluffy. 
*The key to this frosting is beating the living daylights out of it*
Add the cooled milk/flour mixture to the butter/sugar mixture and mix on high until light and fluffy. You do not want this frosting to be thin and grainy; if that's the case...turn it back on high and keep at it until it is smooth and creamy!
 

I cut each of my 9" cakes in half horizontally and make a thin, 4 layer cake. If this is out of your comfort zone, just skip it and make a 2-layer cake.
Obviously you can use your brain and figure out that I swapped the red food coloring for orange, and turned some of the frosting blue. I suppose you could do this with any combination of colors you want...just beware that the cocoa powder in the cake won't mix well with certain colors. 
Also, I suggest making this cake a day ahead of time, for some reason it just gets better over night :-)



Thursday, November 7, 2013

Pumpkin Chocolate Chip Swirl Bread


So, the swirl part of this bread is actually an accident. For whatever reason lately, I have had my head in the clouds. Total space case. I forgot to add the baking soda to the bread and didn't realize it until it had already been in the oven for 5 minutes. I dumped it all back into the bowl to stir in the baking soda but the chocolate chips had already begun melting. When I started to stir; viola! Chocolate swirl bread! Haha I was so mad at myself but when it came out of the oven it actually looked okay, and tasted delicious anyways. If you make this bread, it will just be regular old pumpkin chocolate chip bread; unless of course you take the bread out of the oven after it's been in there for 5 minutes and swirl it around with a knife :-)
This bread is moist and delicious and has wonderful pumpkin flavor. Would be yummy for Thanksgiving breakfast or even as a dessert! You can leave out the chocolate chips if you prefer something a little less sweet. Also, this makes A LOOOOOT of bread; three full sized loaves or lots of mini loaves. You can wrap a mini loaf up all cute and give them away as gifts. Hostess gift for Thanksgiving perhaps?!

I found this recipe here.
 
 
Ingredients
3 Cups Sugar
1 (15 ounce) Can Pumpkin Puree
1 Cup Vegetable Oil
2/3 Cup Water
4 Eggs
3 1/2 Cups Flour
1 Tablspoon Ground Cinnamon
1 Tablespoon Ground Nutmeg
2 Teaspoons Baking Soda
1 1/2 Teaspoons Salt
1 Cup Mini Chocolate Chips
 
Directions
Preheat your oven to 350 degrees.
This recipe filled two regular bread loaf pans plus one mini loaf pan.
Grease your pans.
 
Combine your sugar, pumpkin, oil, water and eggs.
Beat until smooth.
Blend in your flour, cinnamon, nutmeg, baking soda and salt.
Fold in your chocolate chips.
 
Pour the batter into your bread pans.
Bake one hour or until an inserted knife comes out clean.
 

Monday, October 21, 2013

Mini Fruit Pies

This weekend we went to my parent's house for dinner on Saturday. My dad made Green Chili and I am always responsible for dessert. When I asked my dad what I should make for dessert he said he was watching The Pioneer Woman make these on the Food Network that morning and that was what he wanted. Pretty easy, I figured I could manage. 

I cut a lot of corners with this recipe as I was busy making other stuff and doing housework. I didn't have time to make a home made pie dough, nor did I have time to make home made filling, nor did I have time to deep fat fry these puppies. I used a store bough pie crust, canned pie filling and stuck them in the oven so I could  move on to something else while they cooked. They still turned out yummy and were gobbled up so I don't feel too bad for taking the easy route.

This recipe yields 8 mini pies (4 circles out of each pie crust)
You will need:
1 pack of store bought pie crust (2 rounds)
Your favorite pie filling, whether you decide to make your own or buy the canned version; I used apple and cherry.
1 egg + a little water
1 cup powdered sugar
1 tsp vanilla extract
1-2 tsp milk


1. Lay out your pie crust and cut 4 same-sized circles out of each. 
2. Place cut circles on a parchment line baking sheet.
3. Scoop a couple spoon fulls of your pie filling near the center of each circle.
4. Make an egg wash (1 egg and a splash of water, whisked together).
5. Use your finger to coat the edges of the pie dough with egg wash.
6. Fold the dough over the filling and press to seal with your fingers.
7. Crimp edges with a fork.
8. Brush the top of the pies with egg wash and cut a small slit in the top to allow steam to escape.
9. Bake at 375 degrees for about 20 minutes or until golden brown.
10. Cool for about 30 minutes.
11. Make icing by whisking together powdered sugar, vanilla and milk. 
12. Drizzle icing over cooled pies.

These are quick and easy and something that everybody will love. Try switching up the fillings each time to make these a little different and interesting. They are yummy served cool- plus you can just pick them up with your hands and pop them in your mouth; but you can also stick one in the microwave and top with a little ice cream if you really wanna get fancy!
YUM!


Pumpkin Pie Crumble Bars

Pumpkin, again! Are you surprised?! If you are, then you don't know me very well. It's only going to get worse...I pinned tons of pumpkin recipes this weekend that I can't wait to try out! If you are a pumpkin hater- you might wanna follow a different blog until December rolls around ;-)

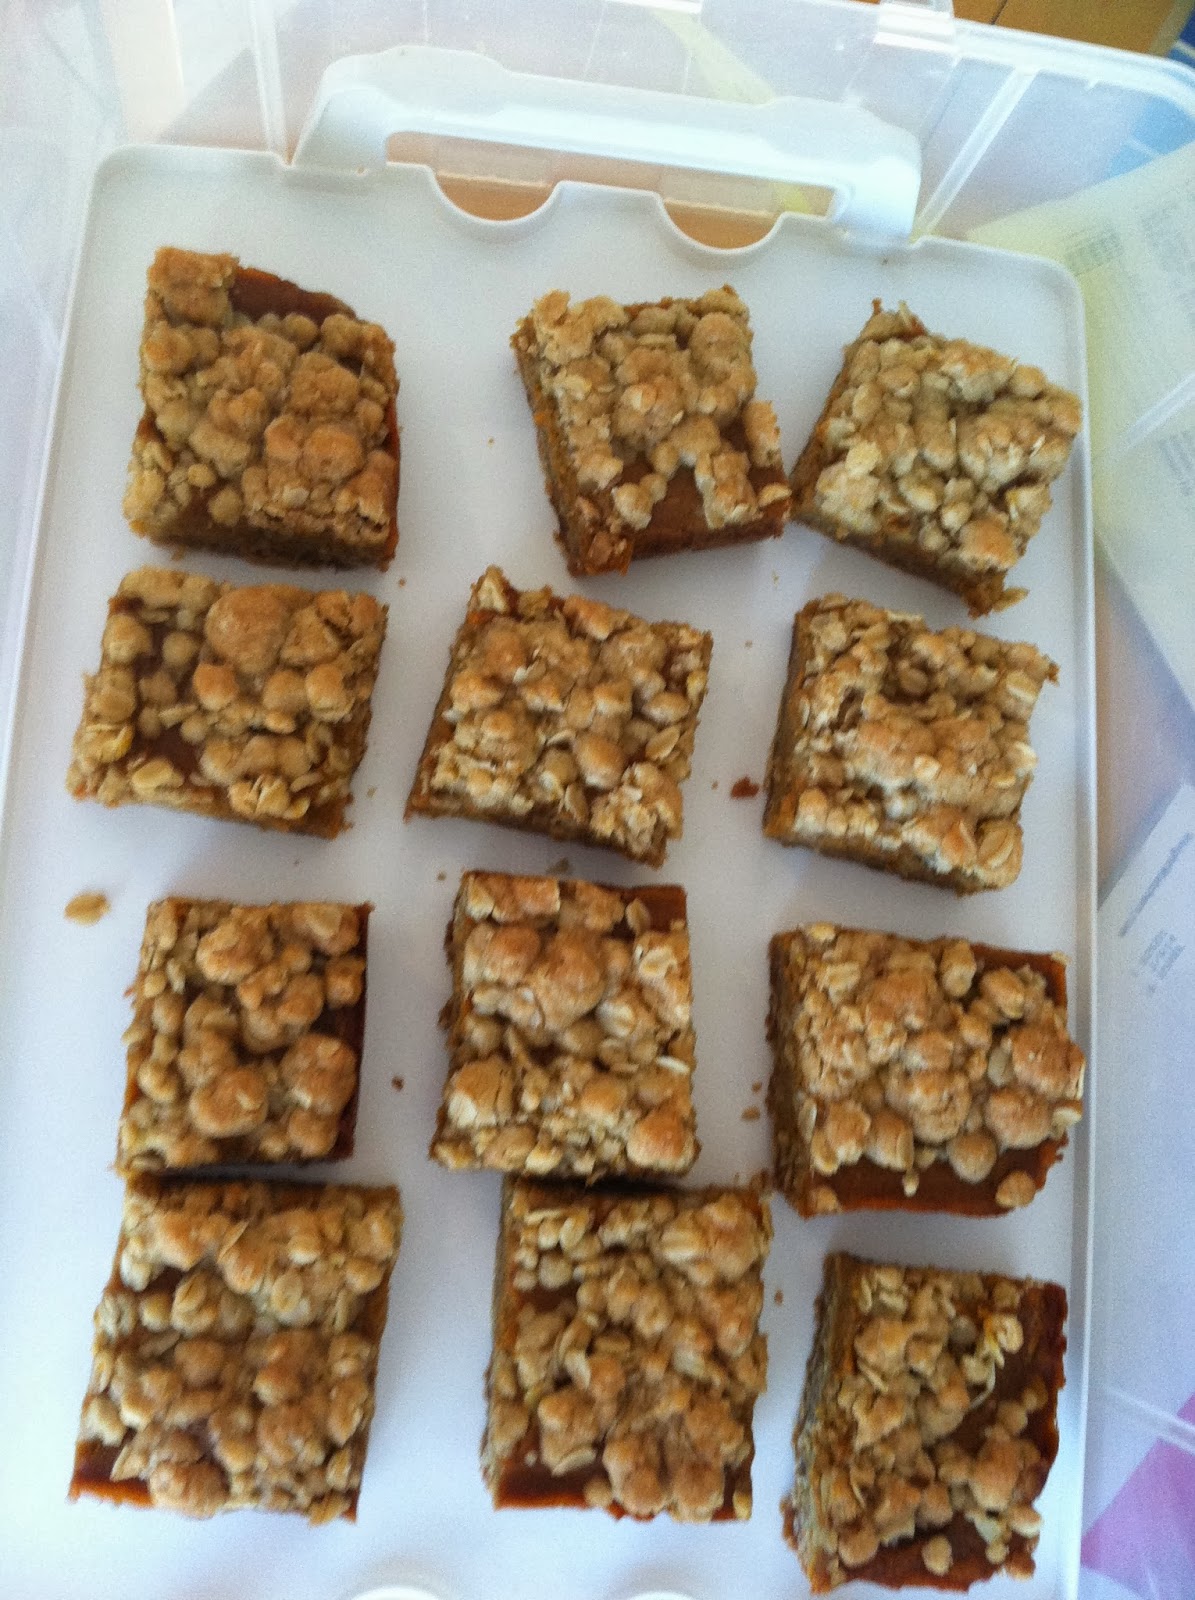
These are like pumpkin pie mixed with an oatmeal cookie. UHHHHH yeah you heard me- delicious. I love oatmeal cookies and I love pumpkin pie so how could this not be totally yummy? These are awesome, tasty, little pumpkiny, fall treats! Best topped with a little cool whip!

I found this recipe on this blog, which I now follow and may be a little obsessed with. This lady rocks.

Crust/Topping
1 1/4 cups all-purpose flour
1 1/4 cups quick oats (old fashioned works too)
1/2 tsp salt
1/2 tsp baking soda
1/2 cup granulated sugar
1/2 cup packed light-brown sugar
3/4 cup unsalted butter, melted
1 tsp vanilla extract

Pumpkin Pie Filling
1/4 cup granulated sugar
1/4 cup packed-light brown sugar
1 tsp cinnamon
1/2 tsp nutmeg
1/4 tsp ginger
1 pinch ground cloves
1/4 tsp salt
1 large egg
1 large egg yolk
1/2 tsp vanilla extract
1 1/4 cups canned pureed pumpkin
1/3 cup evaporated milk or half and half
Whipped cream and cinnamon, for serving (optional) 

Directions 
Preheat oven to 350 degrees. In a mixing bowl, whisk together flour, oats, salt and baking soda for 30 seconds. Add in 1/2 cup granulated sugar and 1/2 cup brown sugar an mix until no clumps remain. Combine melted butter and vanilla and add to mixture, then stir with a spoon until evenly moistened. Gently press half of the mixture into a greased 8 by 8-inch baking dish (a 9 by 9-inch baking dish would be great to, just reduce the baking time slightly as needed) and bake in preheated oven 15 minutes.

Meanwhile in a mixing bowl, whisk together 1/4 cup granulated sugar, 1/4 cup brown sugar, cinnamon, nutmeg, ginger, cloves and salt. Add in egg, egg yolk and vanilla and stir until blended. Mix in pumpkin then milk. Pour mixture over baked cookie portion and return to oven to bake 15 minutes, then remove from oven and sprinkle remaining cookie crumb mixture over top while breaking the crumb into small bits. Transfer oven rack closer to the top-center (not directly beneath but a few levels below) and return to oven to bake about 20 - 25 minutes longer until golden on top and center only jiggles slightly. Remove from oven and allow to cool 1 hour at room temperature, then transfer to refrigerator to cool 1 hour longer (or serve warm from the oven like a crumble with ice cream). Cut into squares and serve with sweetened whipped cream and a light dusting of cinnamon if desired. 
I lined my pan with foil; that way when I went to cut it into squares, it was easy to pop out of the pan.
Happy Baking!