Mexican is one of my most favorite cuisines! I am better at eating it than I am at making it; but I continue to make it so that I can continue to eat it. I LOVE going out to a good Mexican restaurant and eating delicious
authentic Mexican food, and this also inspires me to experiment cooking this type of food.
Tacos are a regular on the menu for our week night dinners but last night I wanted to change it up from the boring tacos from a packet of seasoning, so I added some yummy extras to the tacos and made them a little more exciting. They were good! and the Cowboy Caviar is such a great side/topper/dip (however you wanna eat it, the stuff is GOOD).
I'm going to start with the recipe for the Cowboy Caviar because I recommend making this in advance so it has a chance to sit and marinade or whatever. It's just better after it's been sitting in the fridge for awhile, trust me! It can be used as a little appetizer with chips while you wait for the tacos and you can put it on the tacos too :-)
Cowboy Caviar
1 can black eyed peas (drained and rinsed)
1 can black beans (drained and rinsed)
1 can sweet corn (drained and rinsed)
1 can diced tomatoes
1/2 cup diced purple or green onions
2 avocados (diced)
1 jalapeno pepper (optional)
cilantro(optional)
1/2 cup Italian Dressing
Juice of 1 lime
garlic salt and black pepper to taste
Dump this all in a bowl and mix! Easy and sooooo delicious!
Now for the Tacos....
1. Start with two boneless, skinless chicken breast (or more if you're feeding more people; this was by far enough for Scott and I, plus we had leftovers)
2. Roast the chicken breasts in the oven until they're done (375 degrees for about 20 minutes, depending on your oven)
3. Let the chicken breasts cool while you start working on the sauce.
4. Start with
2 Tablespoons of oil in a big
pan.
5. Add
1/4 cup of purple onions or shallots to the hot oil and cook until the onions become soft and transparent.
6. Add
2 tablespoons minced garlic and continue to cook until the garlic is fragrant.
7. At this point, add
the juice of 1/2 of a lime, 2-4 teaspoons of cumin, 1/2 packet store bought chicken taco seasoning, and
1-2 teaspoons of finely minced or ground *chipotle pepper* (I purchased whole chipotle peppers in adobo sauce and put one of them and some sauce in my food processor and ground it into a paste).
8. Add in
1/2 can of diced tomatoes with juice.
9. Cover the pan and let the sauce simmer for 15 minutes, it will thicken up quite a bit.
10. Add 1/4 to1/2 cup of chicken broth to thin out the sauce.
11. Dice or shred the cooked, cooled chicken and add it to the sauce.
12. Stir and place the lid on the pan and let simmer for 5 more minutes.
Dress up your tacos however you like. I used small corn tortillas warmed in a dry pan, Scott used burrito sized flour tortillas, or you can use hard shell.
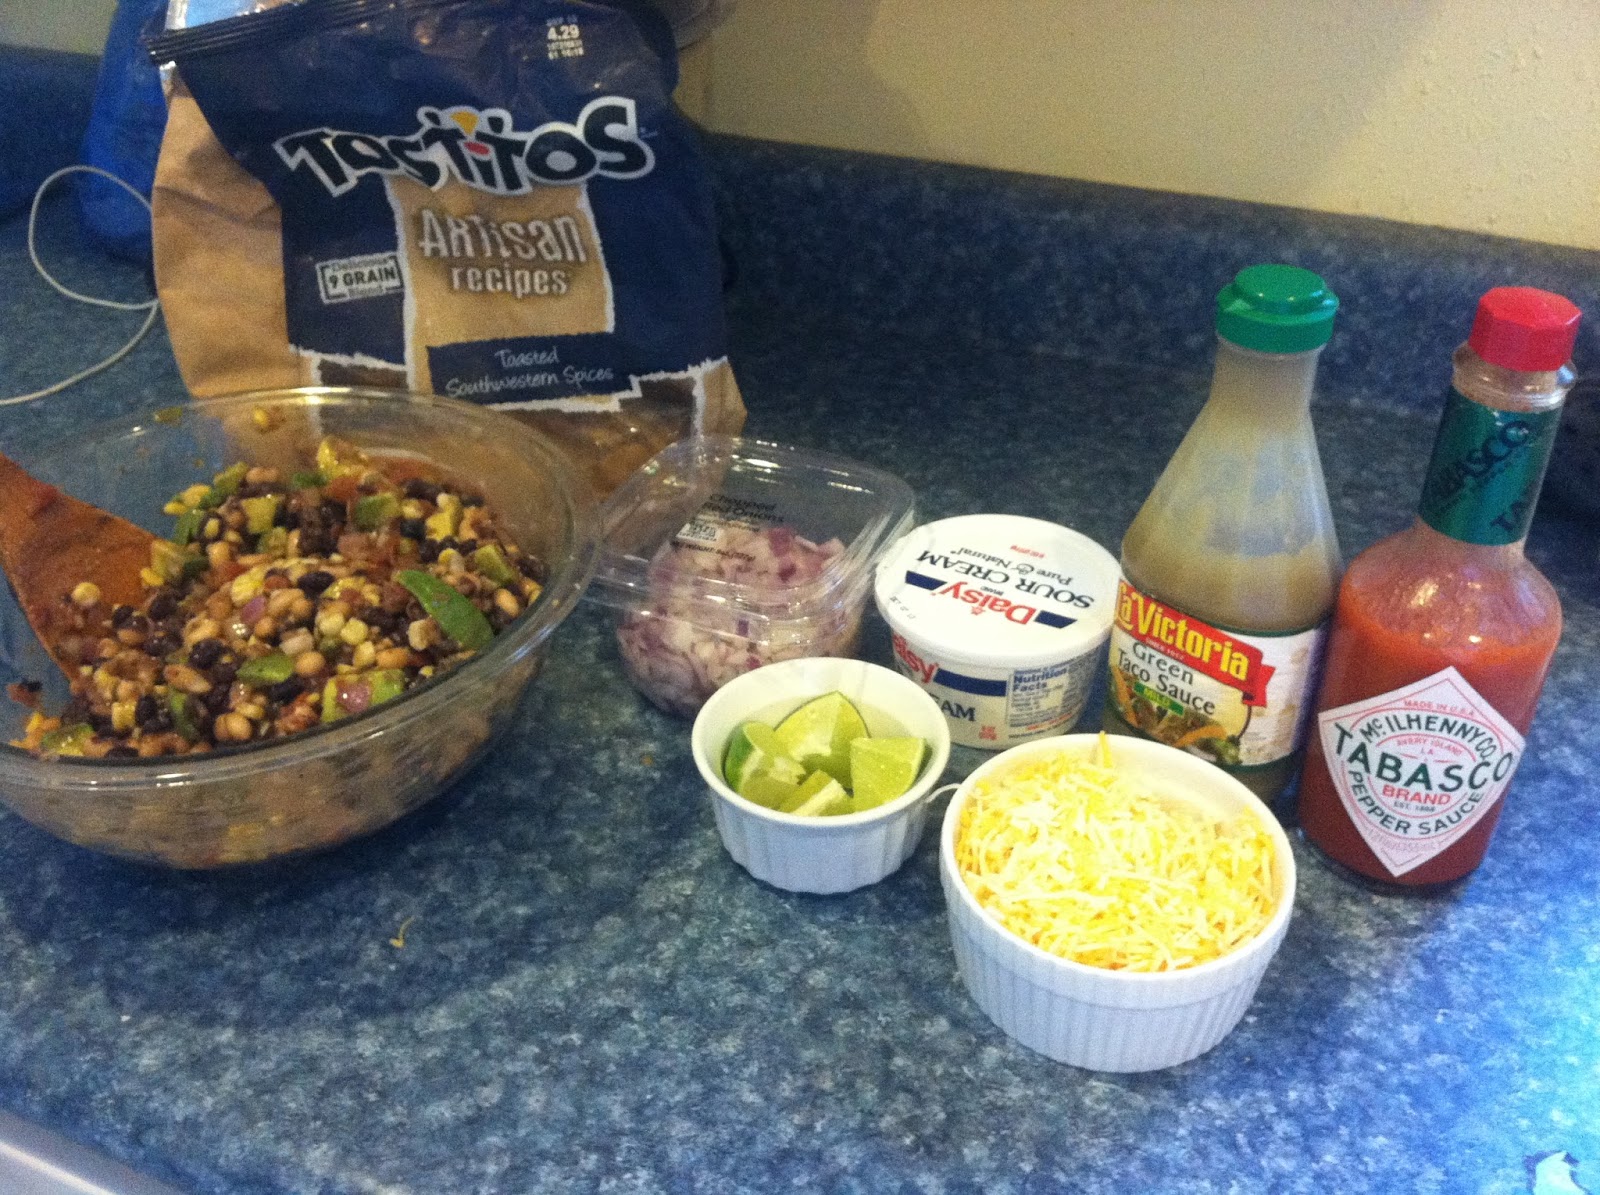
This is our taco spread! I topped mine with shredded cheese, more purple onion
Knorr Mexican Rice, green taco sauce and some of the cowboy caviar.
Scott gets a little more fancy with his... "Now this is a taco, this is what you should take a picture of!" I believe those were his exact words. He thought this should be documented.
Hope you enjoy as much as I did! YUM!