Pages

Friday, September 6, 2013

Peach Crisp


Peaches are my all-time favorite fruit. Seriously, I'm obsessed. When peaches are in season I eat at least one a day. I go to the Farmer's Market every Saturday morning for fresh Colorado or Utah peaches that are to die for, they are sooo ripe and juicy. Sometimes they start to ripen faster than I can eat then (which is fast) and I am forced to peel them, cut them up and make them into something yummy before they go bad. This time I chose peach crisp. Basically a crisp is just sweet fruit with a sugary oat streusel baked on top. Fruit crisps are delicious, especially when made with ripe, sweet, juicy, fresh fruit. Lots of crisp recipes call for canned peaches...which is okay....but once you make one with fresh, ripe peaches I promise you will not go back! This is originally a recipe for strawberry rhubarb crisp from cooks.com, but I just adapted it by using peaches instead. Also, there is no need for me to make a whole 9x13 pan full...so it's easy to make only half of this recipe if you want :-)

8 cups sliced peaches
1 cup sugar
1 1/3 cup flour
1/2 tsp. cinnamon
1 cup browpn sugar
1 cup old fashioned rolled oats
1/4 tsp. nutmeg
1/2 cup butter (melted & cooled)

1. In a large bowl, combine fruit, sugar, 1/3 cup of the flour and cinnamon. Transfer into a greased 9x13 baking dish.
2. In another bowl, combine remaining 1 cup of flour with brown sugar, oats and nutmeg. Add butter and blend well with a fork to create the streusel.
3. Sprinkle streusel over fruit mixture and bake at 350 degrees for 35-40 minutes or until golden brown and bubbly.
This is best served warm with a big scoop of vanilla ice cream. Such a delicious, fresh, summer dessert. I make this dessert often and it's always a hit!
Enjoy!


Macaroni and Cheese


You are about to be bombarded with recipes from the last few days! Its been crazy around here and I haven't had any time to sit down and post the recipes I've made the last few days. I will try to keep them short and sweet :-) Most macaroni and cheese recipes consist of the same "base" it all changes depending on what you add. This is a simple recipe with cheddar cheese but if you're feeling spontaneous try different adaptations according to your taste!

1/2 lb. pasta (I use rotini)
2 T butter
1 T flour
1 1/2 cups milk
1/4 tsp of the following:
dry mustard
garlic salt
paprika
parsley
salt & pepper
pinch of nutmeg
6 oz. grated sharp cheddar cheese (or any other cheese or combinations you prefer)
panko bread crumbs

1. Put your pasta on to boil in a large pot of salty water- boil per package directions for "al dente".
2. Make your roux: melt butter over medium heat until bubbly, whisk in flour. Stir over heat for a few minutes to cook the raw flavor out of the flour.
3. Whisk in milk, stir until roux begins to thicken.
4. Remove from heat and add seasonings. 
5. Stir in cheese until completely melted.
6. Combine drained pasta with cheese sauce in a casserole dish.
7. Top with panko bread crumbs and extra cheese.
8. Bake in a 425 degree oven until the top is golden brown and bubbly.
This is warm, cheesy, homemade goodness that pairs well as a side dish and will really impress! Enjoy! :-)


Wednesday, September 4, 2013

Mini Chocolate Chip Crescent Pies

These are a quick, yummy and easy dessert! And you can make them with any combinations you can think of! I was thinking after I made these how good some cherry pie filling would be inside them....mmmm let your mind wander and you might come up with something delicious! We made them with chocolate chips and peanut butter and marshmallows because that's what we had. They are kid friendly too- Griff was a big helper making these little pies!


All you need is refrigerated crescent dough and the filling! In this case; chocolate chips, peanut butter, and mini marshmallows.


Spread your choice of filling over each triangle of crescent dough, roll up, place on a greased baking sheet and bake according to the crescent dough directions.
Garnish with powdered sugar and enjoy while warm! I had one today as a snack and they weren't bad the next day but definitely the best right out of the oven!


Tasty, ooey, gooey, chocolately...need I say much more? If you close your eyes real tight and imagine you might feel like you're actually in a French bakery enjoying a fresh croissant ;-)

Enjoy!


Shrimp and Tomato Pasta

I always feel so fancy when I make this for dinner! Despite it being kinda fancy-schmancy and super delicious; it's not difficult to make! This is one of my favorite dinner recipes and a go-to in our house. It's great left over and would be good for lunch too! You can make a lot of it at once if you are cooking for a crowd, or just a little if you're dining alone!
I honestly don't remember where I got this recipe...I've been making it for awhile now so I have it memorized and I'm sure it's changed a lot from the original as I've experimented with the recipe myself; I will give you my version!

2 Tablespoons butter
1 Tablespoon oil
1/2 pint of cherry tomatoes (halved)
1 Tablespoon minced garlic
1/8-1/4 teaspoon red pepper flakes (optional)
1/4 cup dry white wine
1/4 cup chicken stock
2 Tablespoons pre-made pesto sauce
1/4 cup milk
~20 raw jumbo shrimp (peeled, deveined and tails off)
~ 7 oz. pasta


1. Start by putting your pasta on to boil in a large pot of salted water. Cook your pasta until it's 
"al dente" as the pasta will finish cooking in the sauce at the end.
2. Heat butter and oil on medium-high heat in a large pan until bubbly.
3. Add minced garlic and cherry tomatoes and red pepper flake; cover and let simmer until tomatoes start to burst.
4. Smash cooked tomatoes (if you like your tomatoes more whole, skip this step)
5. Add white wine, simmer and let reduce about 5 minutes.
6. Add chicken stock, and pesto; stir.
7. Whisk in milk
8. Add shrimp and cook until shrimp are pink (do not over cook as shrimp will become rubbery)
9. Toss sauce with drained pasta over heat for 2-3 more minutes.
10. Serve with grated Parmesan cheese and garlic bread.

Enjoy!!


Tuesday, September 3, 2013

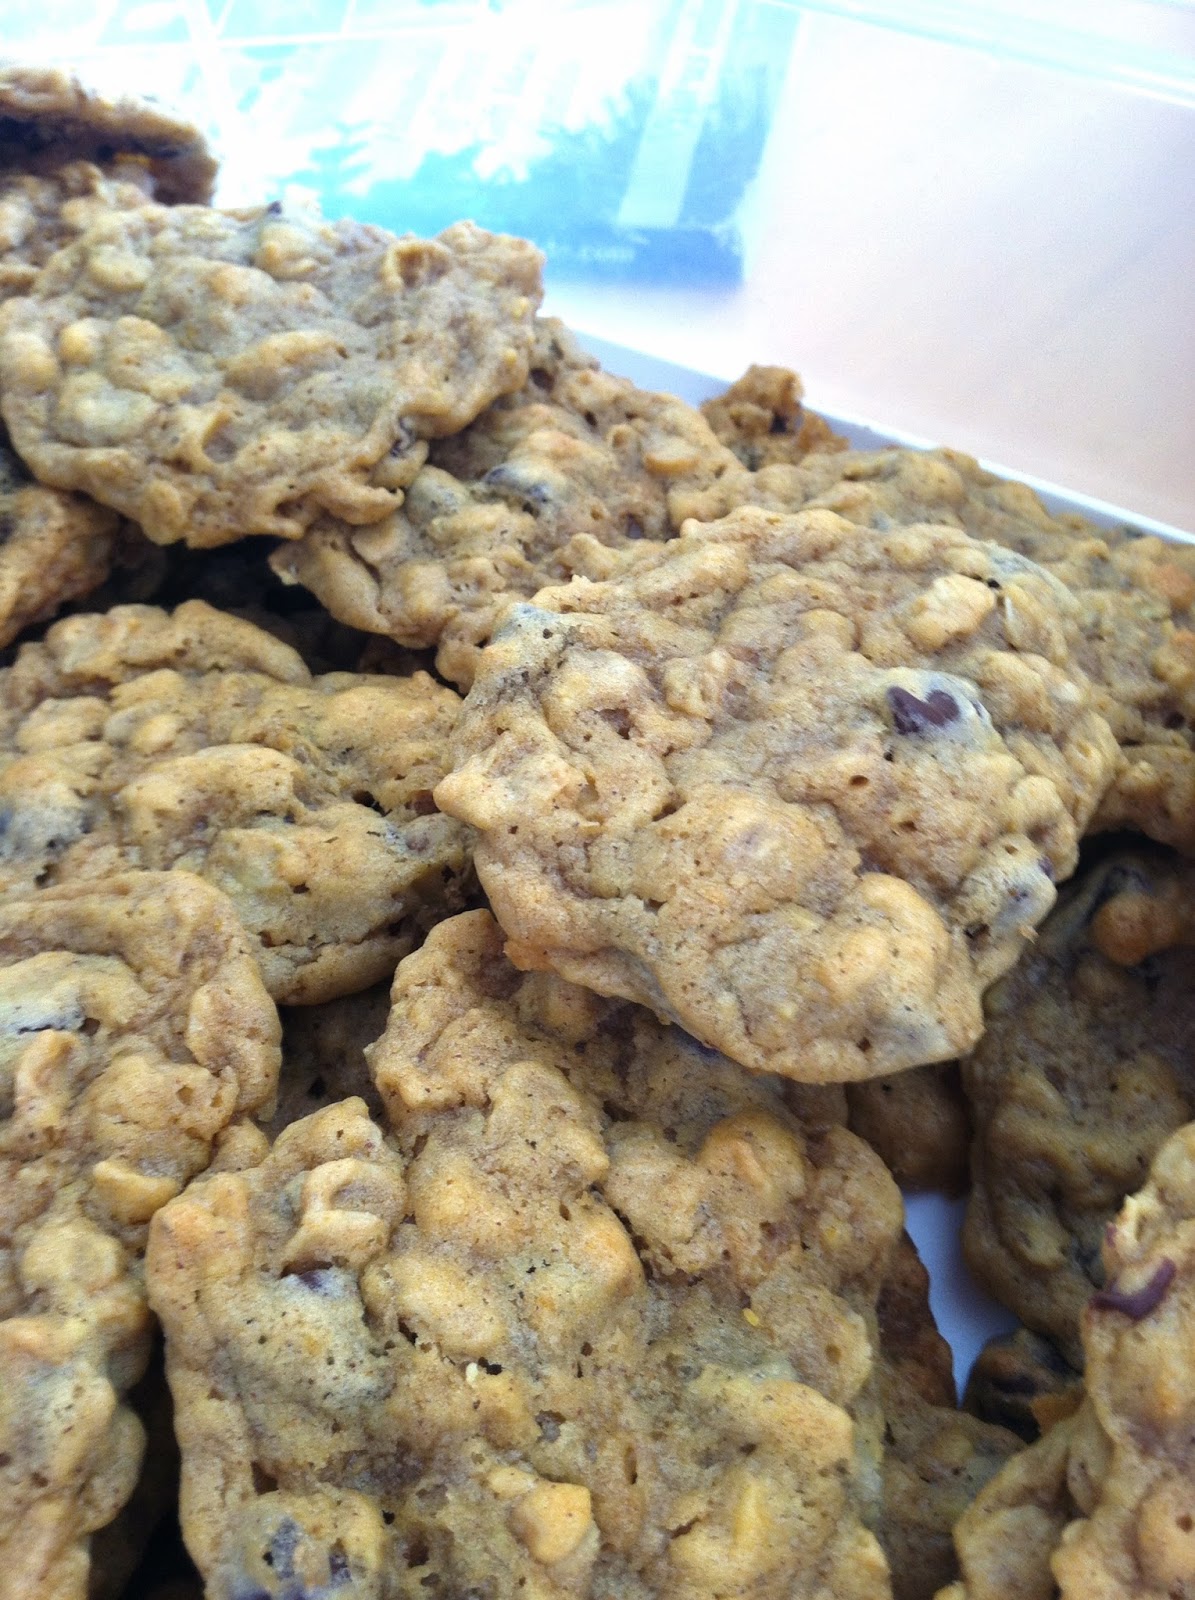
Pumpkin Oatmeal Chocolate Chip Cookies


I had some left over pumpkin puree from the over abundance of pumpkin baking I did this past weekend. Oatmeal chocolate chip cookies are one of my favorite cookies to begin with....and the only possible way to make them better was to add pumpkin! I adapted the recipe I found on this blog.

Here is what you need:
(makes 3 dozen large cookies)
 
- 1 cup sugar
 - 1 cup brown sugar
- 2  cups all purpose flour**
- 1 cup chocolate chips
- 1/2 cup white chocolate chip (I didn't have any white chocolate chips so I just used all semi-sweet)
- 2 cups rolled oats (oatmeal)
- 1/2 tsp of ground cinnamon
- 2 tsp of pumpkin pie spice
- 1 TB vanilla extract
- 1/2 tsp salt
- 1 cup unsalted butter
- 1 tsp baking soda
- 1 cup pumpkin puree
- 1 egg
 
**I don't know if it's the altitude, the weather or what but I strongly suggest adding another 1/2 to 1 whole cup of flour to the dough. My first batch turned out really flat (they were still soft and yummy) but once I added more flour they turned out perfectly! 
 
1. Preheat oven to 350 degrees. Line a baking sheet with parchment paper, set aside. In a large bowl, whisk together flour, baking soda, cinnamon, pumpkin pie spice, and salt. Set aside.

2. Next beat butter, sugar and brown sugar until well creamed together.

3. Now add in pumpkin, egg and vanilla. Beat until combine well.

4. Gradually add the dry ingredients to wet ingredients and mix until incorporated.

5. Next, stir in your oats. Mix well.
 
6. Stir in both the white and dark chocolate chips.

7. Drop cookie dough by the rounded tablespoon on to the prepared baking. sheet.

8. Bake cookies for 14-15 minutes or until cookies are lightly browned. DO NOT OVER COOK. They will seem a little soft, but will firm up as they cool. You want to keep the nice, soft texture!

Enjoy these delicious, soft, hint-of-fall cookies!

Monday, September 2, 2013

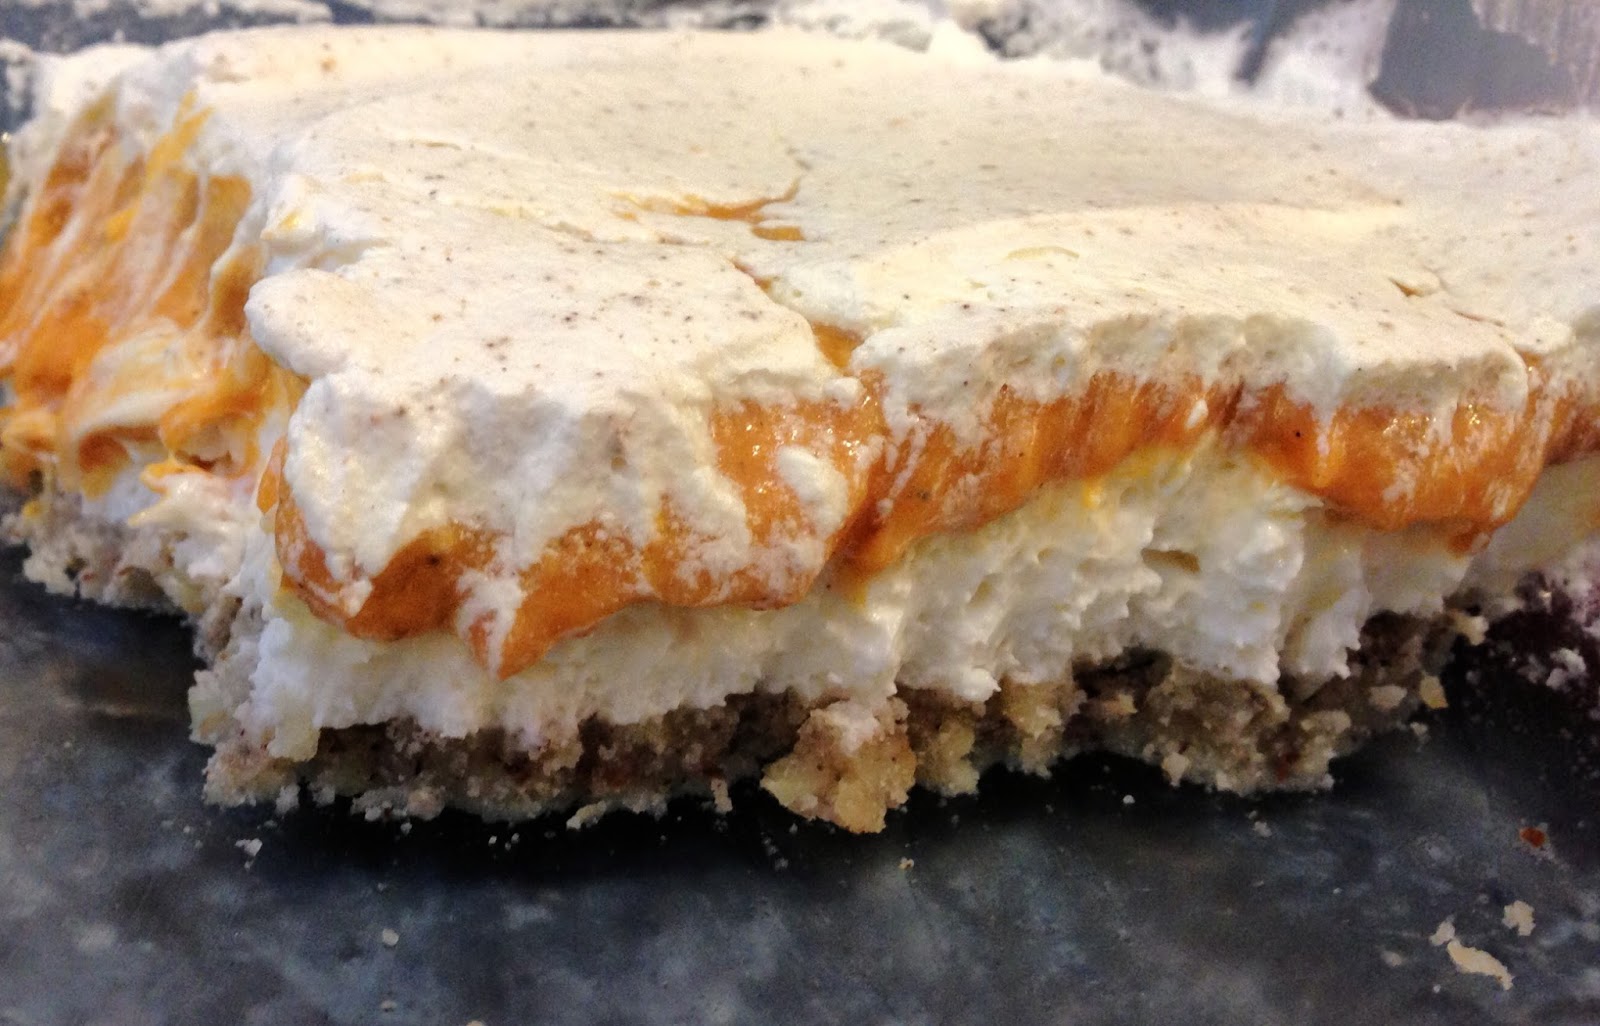
Pumpkin Pudding Cake


Another tradition we have out at the lake on Labor Day is our Thanksgiving Dinner. That's right: September first, Thanksgiving dinner. A big roasted turkey and all the trimmings. DELICIOUS! My favorite meal of the year and we get to have it twice! AND I get a little glimpse of my favorite time of year and my all time favorite ingredient: PUMPKIN. Seriously, another month (if I can make it) and this blog will be filled with all things pumpkin. I love love love love to cook pumpkin everything! SO with it being "Thanksgiving" without a doubt I took full advantage of this pseudo-fall celebration! I made two home made pumpkin pies, I used the recipe off of Libby's pumpkin puree...or you can find it here. Pumpkin pie is a staple and a must-have on Thanksgiving so this was a no-brainer.
I have this recipe for this chocolate pudding cake (also known by lots of other names) and I wanted to make it pumpkin instead of chocolate. I found a couple adaptations that called for pumpkin spice flavored instant pudding; I assume this is seasonal because I couldn't find any. This definitely did not stop me from making this delicious creation into pumpkin yummy-ness! Instead I just added some pumpkin puree to the already vanilla pudding and it turned out awesome! So good and my family all agreed that this was a new go-to recipe for Thanksgiving! 

For the crust:
1 cup finely chopped pecans
1 cup all-purpose flour
2 tablespoons sugar
1 stick butter (melted)
  1. Mix together the flour, butter and chopped nuts until the dough is crumble-like.
  2. Press the mixture into a greased 9×13-inch pan.
  3. Bake the cookie crust at 350 degrees for 15 to 20 minutes or until lightly golden.
  4. Let the cookie crust cool completely.
First Layer:
1 package cream cheese
1 container cool whip
1 cup powdered sugar
1. Beat the cream cheese and sugar until smooth. 
2. Fold in cool whip gently. 
3. Spread over cooled crust.

Second Layer:
2 small packages instant vanilla pudding
1 and 1/2 cup cold milk
1 cup pumpkin puree
1 teaspoon pumpkin pie spice
1. Beat together the pumpkin puree, pumpkin pie spice and pudding mix.
2. Slowly add in milk
3. Spread over second layer.
Garnish with another container of cool whip and some nutmeg if desired. 

This stuff is like pumpkin pie's evil twin sister. It tastes like pumpkin pie, only better. 
This is the best picture I could get in the midst of everybody digging in!
Happy Fakesgiving ;-)


Pork Green Chile

Happy Labor Day! I hope everybody enjoyed their long weekend and day off today :-) We spent the weekend at the lake and on Saturday night enjoyed famous "Taco Saturday". My Aunt Patti makes tons and tons of these delicious little fried tacos that are seriously the best tacos I've ever eaten. I don't know how she does it and I can't recreate them to taste exactly the same no matter how hard I try. So I make green chile instead; which may I add, pairs perfectly with these yummy little tacos. It is such a tasty meal and one that I could eat 3 times a week and never get tired of it. We also had some on our breakfast burritos the next morning, which I would totally recommend trying if you have left overs!
Tacos, on tacos, on tacos. Yum, yum, yum.

To make the green chile you will need:
4 lbs pork butt
1 large onion
1 7oz. can of jalapeno peppers
2 cans of diced tomatoes (I used one regular and one "tex mex" style)
1 batch of Oven Roasted Green Chiles (or 3 small cans of diced green chiles)
16 cups of water
2 cups of flour
 2 tablespoons cumin
2 tablespoons chicken bullion granules
2 tablespoons black pepper
1 tablespoon garlic salt/powder

1.Start by browning the pork in a large soup pot. Cook the pork over medium heat until brown.
2. In your food processor, finely chop the onions, jalapenos and green chiles.
3. Add the green chile mixture and both cans of diced tomatoes to the pork.
4. Add 12 cups of water and all the spices.
5. Cover and let simmer on low for 2 hours.
6. Whisk together two cups of flour with the remaining 4 cups of water to form a thin paste.
7. Whisk flour/water mixture into the chile to thicken.
8. Simmer another 30 minutes and serve

We eat our chile with the tacos, but I've also paired it with quesadillas which is really yummy too (I dip my quesadilla in the chile, kinda use it as my spoon). You can doctor up your chile however you want! We top with cheese, sour cream, and diced onion. Sometimes my dad will cook burgers and have Green Chile burgers....really the possibilities are endless! And you can never go wrong with just a simple bowl of this scrumptious chile!
Enjoy!!!