
Pages

Monday, January 20, 2014

Red Velvet Cake {Special Edition: Denver Broncos}

First and foremost please allow me to say....
  
GO BRONCOS!!!
In honor of my favorite football team, the Denver Broncos making it to WINNING the AFC championship and heading to the Super Bowl, I turned one of my favorite cake recipes into a special orange and blue edition to celebrate!


 This is still technically red velvet cake. It tastes the exact same, the food coloring is the only thing that has been changed. It's still moist, delicious and has a perfect hint of cocoa and almond flavoring which all add up to make this my favorite.cake.ever.
Here is my DISCLAIMER:
I've never, in any sense of the word, claimed to be a cake decorator. I am definitely NOT skilled in the area of making cakes look pretty, only in the area of making them taste good. So I can totally promise you that this will look taste magnificent.
This recipe is an old family favorite, from the cook book called The Feed Bag by Ann Galles and Karla Dundas whom I am lucky enough to call family. It is simple and never fails. My husband's grandma even has "famous" red cake recipe that she has made for ages and my mother in law said that this one is just as good...almost as good ;-)
 
 RECIPE
1/2 cup margarine 
1-1/2 cups sugar
2 T cocoa powder
1/4 cup red food coloring (yikes)
*make a paste with the above ingredients and then add:
2 eggs, beaten
1 cup buttermilk
1 tsp salt
1 tsp baking soda
1 T vanilla extract
1 T almond extract 
1 T white vinegar
2-1/2 cups cake flour
*mix well 
Preheat oven to 350. Grease & flour two, 9" cake pans (I line the bottom of mine with parchment paper, it makes it sooo much easier to get the baked cakes out of the pans)
Bake cakes 25-30 minutes or until a toothpick inserted in the center comes out nearly clean. Cool cakes on a wire rack while you make the frosting.

We've gotta have a chat about the frosting. Pretty much everybody thinks that red velvet cake should come with cream cheese frosting. I used to be one of those people; but let me just tell you that is incorrect. Yeah cream cheese frosting is delicious and I could eat it by the spoonful on dang near anything but the traditional icing on this cake shall not be tampered with, kapeesh?
 
For the frosting, heat 1 cup of milk in a sauce pan on low-medium heat. Whisk in 5 T of all purpose flour. Cook, stirring constantly until thick (you want this thicker than brownie batter). Let the mixture cool to room temp. Meanwhile, beat 1 cup of room temperature butter with 1 cup of granulated sugar until light and fluffy. 
*The key to this frosting is beating the living daylights out of it*
Add the cooled milk/flour mixture to the butter/sugar mixture and mix on high until light and fluffy. You do not want this frosting to be thin and grainy; if that's the case...turn it back on high and keep at it until it is smooth and creamy!
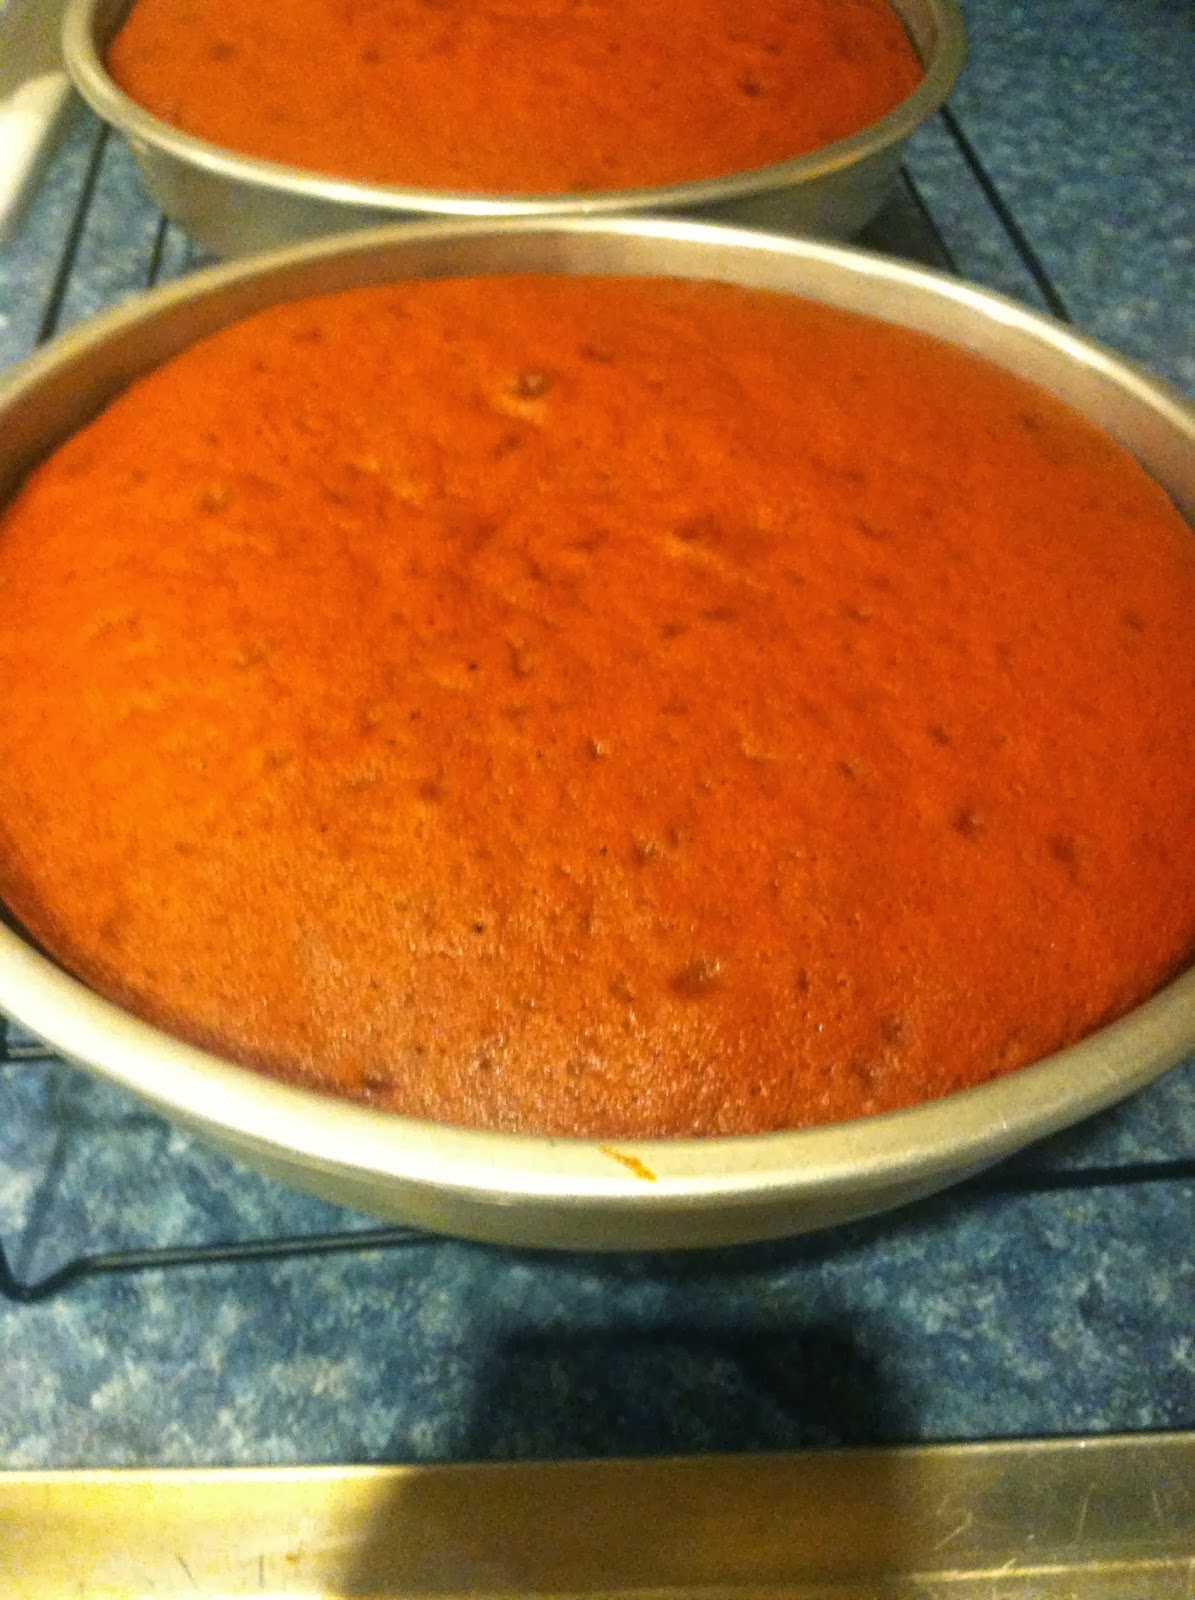
 

I cut each of my 9" cakes in half horizontally and make a thin, 4 layer cake. If this is out of your comfort zone, just skip it and make a 2-layer cake.
Obviously you can use your brain and figure out that I swapped the red food coloring for orange, and turned some of the frosting blue. I suppose you could do this with any combination of colors you want...just beware that the cocoa powder in the cake won't mix well with certain colors. 
Also, I suggest making this cake a day ahead of time, for some reason it just gets better over night :-)




Thursday, January 9, 2014

Welcome Back! + {Parmesan Orzo}

HOL-Y Hiatus!
Guys, the holidays totally got the best of me. I am so so sorry.


I am sorry for myself because I seriously feel terrible for those of you that were following my blog; what a complete let down!
But I am most sorry because I cooked some absolutely delish stuff over the holidays. I know I will be making them again though; and if I get super duper, new-years-resolution-type ambitious I will post the recipes from the yummy stuff I made over the last couple months (you will just have to deal with no pictures).
Between flying to Nebraska for Thanksgiving...where I wasn't able to do any cooking of some of my favorite traditional dishes for my favorite cooking-holiday because we stayed in a hotel...and the extra short amount of time between Turkey Day and Christmas this year...AND hosting Xmas eve dinner at our house...okay you get the picture; I WAS BUSY! I could go on and on....but truthfully I apologize for my lack of posting over the last two months. I promise to post aaaalooott more this year (its 2014...weird?) and I thank you all who will continue to visit and follow my blog :-)

Lets start with a delicious recipe I found on one of my all time favvvv blogs Cooking Classy.

Parmesan Orzo
The best part of this recipe? Besides the fact that its incredibly easy but tastes like you got it from a gourmet bistro? IT'S VERSATILITY whoa- too big of a word for the first day back.
Honestly though, you can make this delicious Parmesan Orzo into anything your little heart desires. 
+PLUS+ I know we are all going to be on this 'new year new me' kick...which I totally appreciate, don't get me wrong I'm trying to fit into a bridesmaid dress in less than 6 months! I'm not sayin' this recipe is healthy because it's really not...BUT it's light on the tongue and tummy. You can eat it without feeling like you just ate a giant 5 lb. bowl of Fettuccine Alfredo from Olive Garden, but with the same kinda taste. YES!
The original recipe is called Parmesan and Spinach Orzo, because there is spinach in it- obviously. I had some spinach (which is why I originally decided to make this) but discovered real soon after I opened the bag that it was no longer okay to eat |YUCK|
You should add spinach! I've made it this way before and it gives the dish a beautiful color, a yummy crunch, but also a healthy-ish factor that you shouldn't pass up. You really can really add justttt about anything to this and it would be good. I've added chicken, it would be so good with shrimp. You can serve it warm right out of the pan as like a side to some fish at dinner, you could refrigerate it and add some halved grape tomatoes and it would be an awesome pasta salad side dish for a pot luck! 
I just had a small bowl for lunch with a left over warmed up bread stick, it was perfect!
Ingredients
  • 2 1/2 cups uncooked whole wheat orzo
  • 2 Tbsp extra virgin olive oil
  • 6 Tbsp finely chopped yellow onion
  • 2 cloves garlic, minced
  • 2 tsp all-purpose flour
  • 1 cup milk (I used 2%)
  • 1/4 cup heavy cream
  • Salt and freshly ground black pepper, to taste
  • 1 1/2 cups packed chopped spinach
  • 1 Tbsp chopped fresh parsley
  • 3 oz. finely shredded Parmesan (3/4 cup slightly packed), plus more for topping 
Directions
  • Cook orzo according to directions listed on package. Meanwhile in a medium saucepan, heat olive oil over medium heat. Add onions and saute until tender, about 3 minutes. Add in garlic and flour and cook, stirring constantly, 1 minute. While whisking slowly pour in milk and cream and season with salt and pepper to taste. Bring mixture to a simmer and cook, stirring constantly, until thickened.
  • Mix in chopped spinach and parsley and allow to heat just until spinach begins to wilt, about 1 minute, then remove from heat and stir in Parmesan. Stir until cheese melts (returning to warm heat if needed to help melt cheese). Stir in drained orzo and serve warm garnished with additional Parmesan if desired.


Thursday, November 7, 2013

Pumpkin Chocolate Chip Swirl Bread


So, the swirl part of this bread is actually an accident. For whatever reason lately, I have had my head in the clouds. Total space case. I forgot to add the baking soda to the bread and didn't realize it until it had already been in the oven for 5 minutes. I dumped it all back into the bowl to stir in the baking soda but the chocolate chips had already begun melting. When I started to stir; viola! Chocolate swirl bread! Haha I was so mad at myself but when it came out of the oven it actually looked okay, and tasted delicious anyways. If you make this bread, it will just be regular old pumpkin chocolate chip bread; unless of course you take the bread out of the oven after it's been in there for 5 minutes and swirl it around with a knife :-)
This bread is moist and delicious and has wonderful pumpkin flavor. Would be yummy for Thanksgiving breakfast or even as a dessert! You can leave out the chocolate chips if you prefer something a little less sweet. Also, this makes A LOOOOOT of bread; three full sized loaves or lots of mini loaves. You can wrap a mini loaf up all cute and give them away as gifts. Hostess gift for Thanksgiving perhaps?!

I found this recipe here.
 
 
Ingredients
3 Cups Sugar
1 (15 ounce) Can Pumpkin Puree
1 Cup Vegetable Oil
2/3 Cup Water
4 Eggs
3 1/2 Cups Flour
1 Tablspoon Ground Cinnamon
1 Tablespoon Ground Nutmeg
2 Teaspoons Baking Soda
1 1/2 Teaspoons Salt
1 Cup Mini Chocolate Chips
 
Directions
Preheat your oven to 350 degrees.
This recipe filled two regular bread loaf pans plus one mini loaf pan.
Grease your pans.
 
Combine your sugar, pumpkin, oil, water and eggs.
Beat until smooth.
Blend in your flour, cinnamon, nutmeg, baking soda and salt.
Fold in your chocolate chips.
 
Pour the batter into your bread pans.
Bake one hour or until an inserted knife comes out clean.
 

Monday, November 4, 2013

Candy Corn Sugar Cookies

This is going to be a quick post; what else is there to say about these besides they are totally adorable, fun, tasty little Halloween treats!
I found this recipe here.
 
Yields: 80+ cookies
2 Sticks Butter, softened
1 c. Sugar
1 Egg
2 T. Lemon Juice
2 t. Lemon Zest
1/8 t. Salt
3 c. Flour
1/2 t. Baking Soda
Red Food Dye
Yellow Food Dye
1/2 c. Granulated Sugar (for dusting)

Combine butter and sugar in a large bowl; beat at medium speed until creamy. Add egg, lemon juice, lemon zest, and salt. Continue beating until well mixed. Add flour and baking soda, beat until well mixed. Divide dough into thirds. Press one-third of the white dough evenly into the bottom of a loaf pan that you have lined with foil, wax, or parchment paper. Place another one-third of the dough into a bowl and add yellow and red food dye to make orange (refer to the chart on the back of your box). Once it is mixed evenly, press orange dough evenly over white dough. In another bowl, add the final amount of dough and dye yellow. Press that evenly over the orange dough. Cover and refrigerate until firm (2 hours or overnight is best). Once chilled, invert your loaf pan and unwrap your dough. Flip it back over and place it on a cutting board. Cut loaf crosswise into 1/4-inch slices using a sharp knife, trimming edges to make even, if necessary. Cut each slice into 6 wedges. 
Place 1-inch apart onto a lightly greased cookie sheet. Bake for 7-10 minutes in a preheated 375 degree oven. Place cookies straight into a bowl with sugar and coat. Place coated cookies on a baking rack to cool. 
 
So fun and so festive! Happy (late) Halloween!


Pumpkin Glazed Donuts

Griff and I got a little festive for breakfast last week! I had some refrigerated biscuits I needed to use...and of course I wanted to incorporate pumpkin! You can make the actual donuts pumpkin flavored if you wanna go the "from scratch" route...I just didn't have the energy for that this time, maybe next time. 
I make these biscuit donuts alllllll the time. We make glazed, chocolate, cinnamon/sugar....the possibilities are endless. When I saw this recipe in an email from Pilsbury recently I knew we had to give it a go!

Ingredients

2 cups vegetable oil for frying 
4 cups powdered sugar  
4 1/2 teaspoons pumpkin pie spice 
1 tablespoon canned pumpkin (not pumpkin pie mix)  
3 to 4 tablespoons half-and-half 
1 can Pillsbury® Grands!® Flaky Layers refrigerated biscuits (8 biscuits) 


Steps

1. In 2-quart saucepan, heat oil over medium heat to 350°F to 375°F. 
2. In large bowl, beat powdered sugar, pumpkin pie spice, pumpkin and just enough half-and-half with whisk until smooth and thick glaze forms. Set aside.  
3. Separate dough into 8 biscuits. Using small round lid or cookie cutter, cut hole in center of each biscuit. 
4. Gently place 2 or 3 biscuits in hot oil. (Biscuit holes can also be fried!) Fry on one side until golden brown. With tongs, gently turn each biscuit over; fry until other side is golden brown. 
 
5. Remove doughnuts from oil; immediately dip into pumpkin glaze. Place doughnuts on cooling rack; cool 3 to 5 minutes or until glaze is set before serving.
  We did a little cinnamon/sugar action too!

 BOO!


Goulash

There are a lot of different versions of goulash in the world; this is my version. My mom originally made it with ground beef, but guess what? I don't like ground beef. I tried it with kilbasa chicken sausage and it was delicious, not to mention cuts down on the calories a little bit. The sausage gives it a smoky flavor, mixed with the flavor of the green peppers and pizza sauce this is just so yummy. This is also ridiculously easy! Basically a one pot meal that you can put together in less than 20 mins. Everyone needs a quick, simple, weeknight meal that all will enjoy, right?!

Serves 4
2 cups (uncooked) of your favorite short pasta; I used Rotini
1 kilbasa sausage, sliced (I used the chicken version)
1 green pepper, finely diced
1 can petite diced tomatoes
1 can pizza sauce
1-2 Tbsp oil
shredded pamesan cheese (optional)
 

1. Cook pasta in boiling, salted water per package directions. Drain and set aside.
2. Sautee diced pepper in oil on medium-high heat until tender. 
3.  Add kilbasa sausage slices and cook until they begin to brown and caramelize.
4. Pour in diced tomatoes (with juice) and continue cooking 3-5 minutes.
5. Add pasta and pizza sauce, stir over low-medium heat until heated through.
6. Serve topped with parmesan cheese and garlic bread.

Monday, October 21, 2013

Bacon Wrapped, Sausage Stuffed, Jalapeno Poppers

These are actually called Atomic Buffalo Turds! Hahahahah and apparently I am five years old because I can't say that without cracking up. I forgot that's what these were originally called until I went back to the website for the recipe just now. Anyways- want to be the person who brings the best hors d'oeuvres to your next party? Then make these, and thank me later when everybody is ooh-ing & ahh-ing over how friggin delicious these things are.
I usually make these before in the oven, but Scott bought himself a late birthday present this weekend; a Traeger Smoker and we wanted to try it out ASAP.

Ingredients
 
10 jalapeno peppers
10 bacon slices, cut in half
10 mini sausages or smokies (I used kilbasa sausage cut into pieces)
8 oz. cream cheese
1 cup grated monterey jack
1 tsp chile powder
1 tsp garlic salt
2 shallots, minced
*I also used mini bell peppers for those who prefer a not-so-spicy version*

Instructions
  1. Slice the jalapenos lengthwise. Using a spoon, remove the seeds and membrane. If using bell peppers, quarter them after they are seeded.
  2. Mix the cream cheese, monterey jack, chile powder, garlic salt and minced shallots. Fill the hollowed out portion of the peppers with the cheese mixture.
  3. Place the sausage on top of the cream cheese. Wrap the half slice of bacon around the jalapeno. If the bacon is not staying tightly wrapped, it may be necessary to use a toothpick to hold it in place.
  4. Smoke at 225F, for 2-3 hours, or until the bacon is browned.
  To cook on the grill: Cook on a medium heat grill until the jalapeno is tender and the bacon is browned. Keep the lid covered while cooking.  
To cook in the oven: Bake the ABT’s in the oven, set at 425F, for 20-30 minutes or until the bacon is browned.
Everybody will scarf these and you will have zero left over. It may be necessary to sample a couple at home before you are bombarded.